This easy Sourdough Starter for beginners, will help you make active and bubbly sourdough starter in the fastest time-frame, with the least effort.
With just two humble ingredients—flour and water—and a touch of patience, you’ll find yourself relishing the mild tangy flavor and light, airy texture of homemade sourdough bread.
Jump to Recipe
What is a sourdough starter
A sourdough starter is just a mix of fermented flour and water that can be used to make healthy and delicious sourdough bread.
If we keep a thick mix of flour and water on the counter for a few days, you will see a few changes happening in it. Nature will introduce a few micro organisms into it and it will slowly start to change its physical, chemical and biological composition.
While making sourdough starter we are going to make use of this “magic work of nature”, in such a way that we will work on it and wait until that mixture is full of active yeasts and good bacteria in a balanced and stabilized stage that can be used to make wonderful healthy sourdough bread.
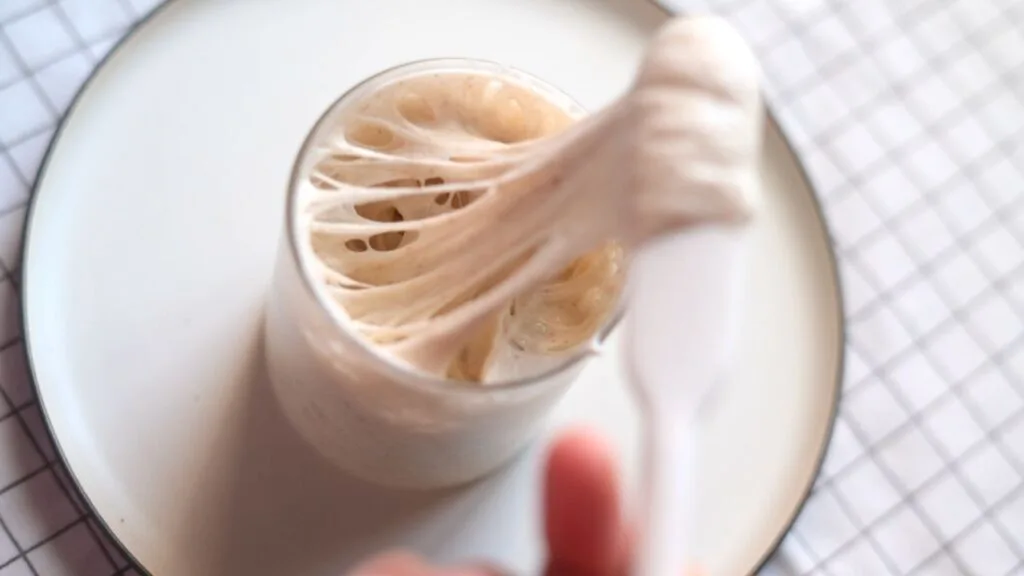
So are you prepared to venture into the delectable realm of sourdough bread-making? Crafting your very own sourdough starter from scratch is not only immensely rewarding but also remarkably straightforward.
Let’s delve into the process step by step and set you on the path to your own sourdough journey!
Sourdough Starter For Beginners :Step by step Video
Ingredients For making Sourdough Starter
To create your sourdough starter, all you need is a blend of flour and water.
Even though we can use any type of flour for making sourdough starter,I like to use a combination of bread flour and some whole grain flours like whole wheat, rye, or spelt.
For the process of making sourdough starter, I mixed some whole wheat flour with bread flour in the ratio 5:1 , for every 250 g of bread flour 50 g whole wheat flour..
Sourdough starter for beginners :Step-by-Step Guide
We can make sourdough starter in a variety of ways; even if the ultimate result is the same.
I have seen many, very complicated methods of making sourdough starter. Actually we don’t need to spend much of our time and effort to make sourdough starter. What we need to do is simply joining our hands with the NATURE, to make this sourdough starter.
You’ll find that with a little attention and care, your starter will come to life, ready to leaven your bread to perfection.
Day 1: Mixing Flour and Water
Begin by mixing equal parts flour and water in a small bowl.
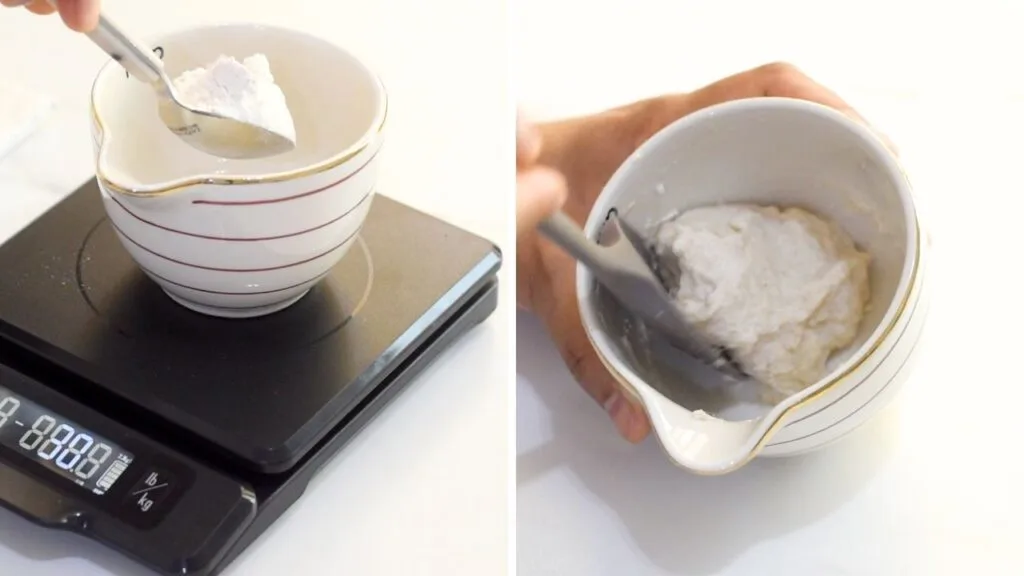
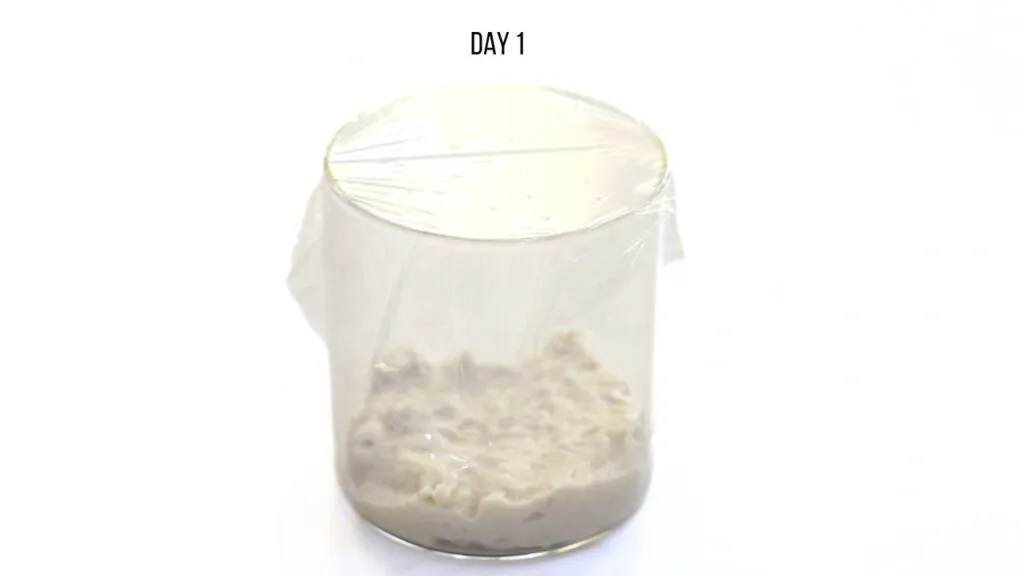
Stir until well combined, keep it in a glass container, cover loosely with a lid or can use a cling film. I pricked the cling film with a tooth pick so that air can pass through it.
Let it rest at room temperature (ideally around 70 F) for 24 hours. This initial mixture sets the stage for the fermentation process to begin.
Day 2: Stir and Transfer
On the second day, You will see some small air bubbles here and there.
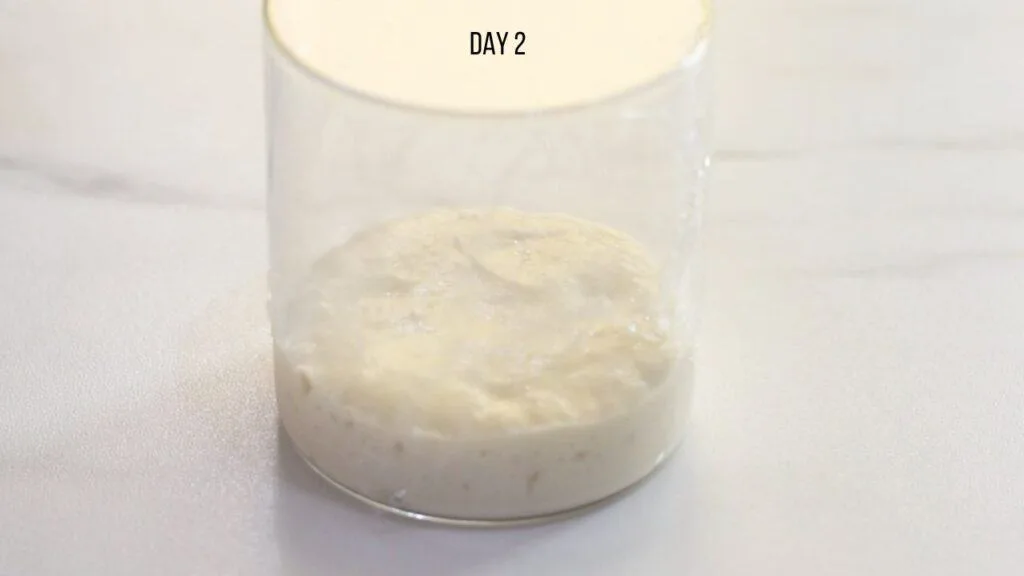
On Day 2, we don’t need to do much.
Just give your mixture a gentle stir.
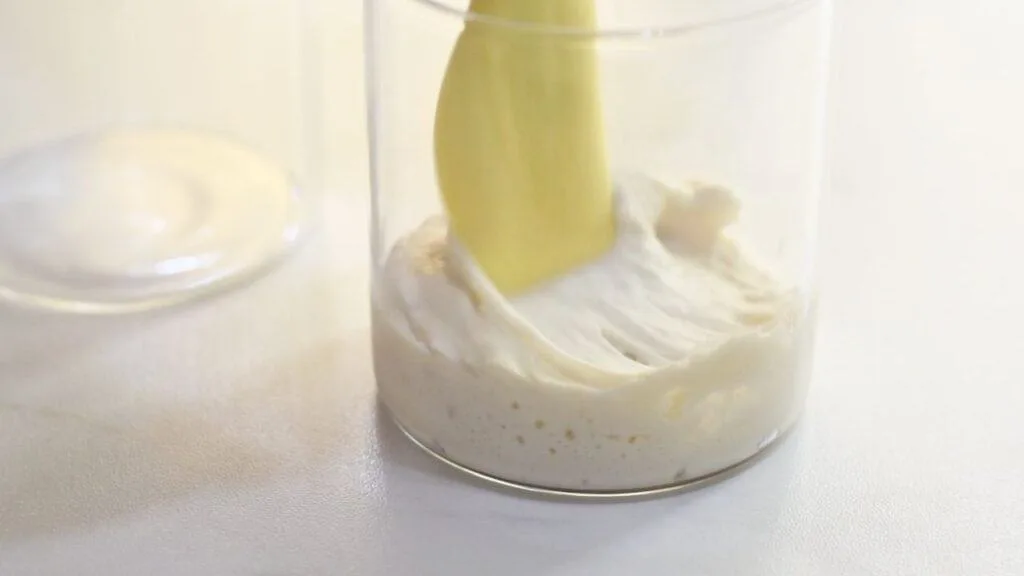
Transfer it to a clean jar or container.
Cover and let it rest at room temperature (ideally around 70 F) for 24 hours.
Days 3-7: Daily Feedings
For the next five days, start feeding your sourdough starter, every 24 hours in the ratio 1:1:1. Take some starter, mix it with equal parts of flour and water. So take 30 g starter, mix it with 30 ml water and 30 g flour.
Cover the jar and let it rest at room temperature (ideally around 70 F) for 24 hours.
On Day 3, you will see some large air bubbles on top which indicates, some active fermentation happening behind.

On Day 4, you may not see much activity; which is normal.
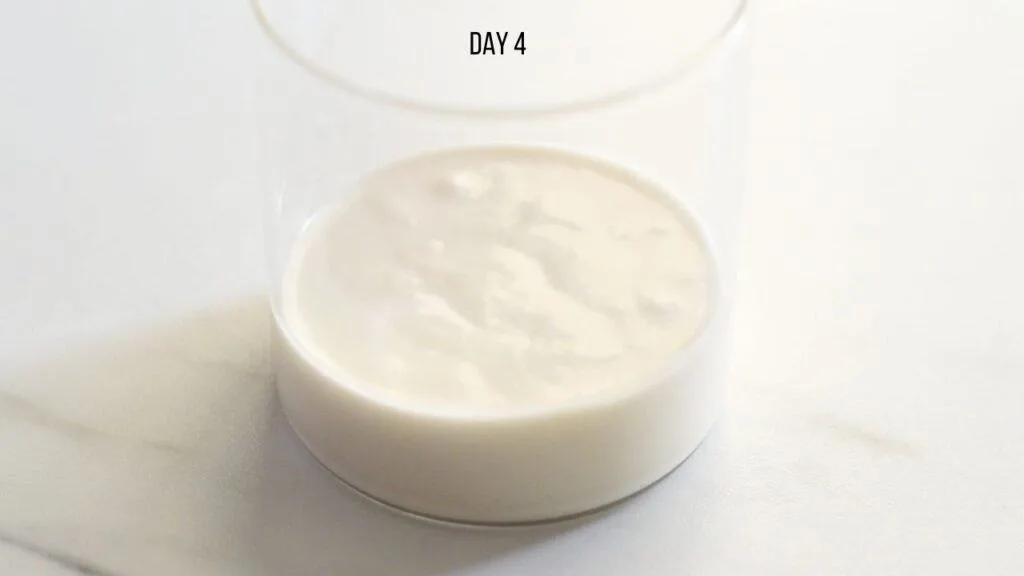
Please don’t discard it. Just keep on feeding the starter.
From Day 5, you will see good fermentation activity going on and you will also notice that our starter will rise and fall during this 24 hour duration.
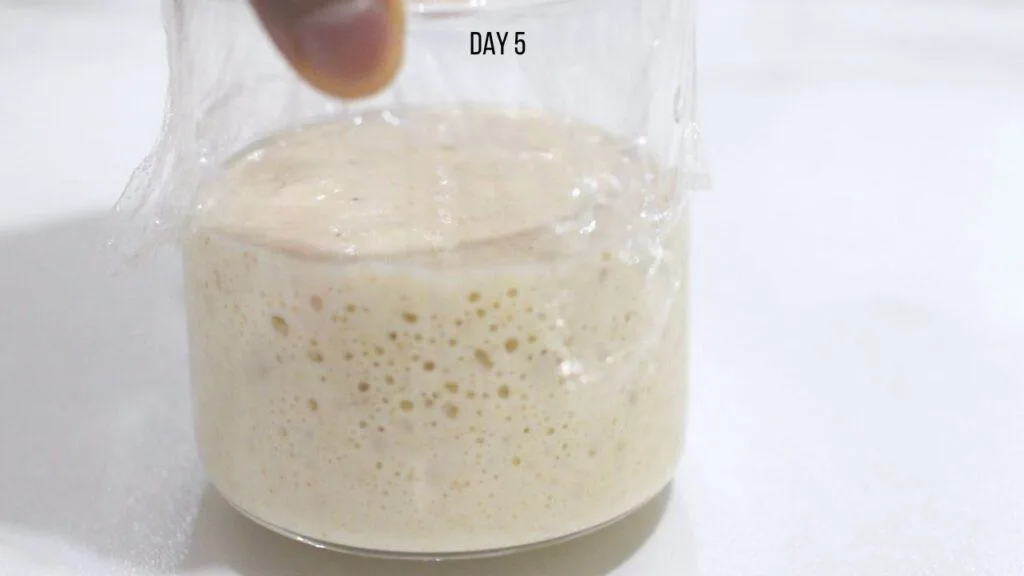
In the below image you can see the remnants of the maximum height of fermentation, which we call “its peak” of fermentation.

By the end of seventh day , you will get a weak starter. To make it strong, from Day 8 onwards, we need to start feeding it every time when it reach its peak.
Days 8 -10 :Feed when it reach peak
Once you reach day 8, your sourdough starter should begin to show good signs of activity.
Keep a close eye on it and feed it every time it reaches its peak.
This frequent feeding helps maintain the vigor of your starter.
By day 10, your sourdough starter should be vibrant, lively, and ready to work its magic in your bread dough.
It should possess a pleasant yeast aroma, a hint of sourness, and be filled with airy bubbles. To test its readiness, drop a spoonful of starter into a bowl of water. It should float, indicating its buoyancy and strength.

If you feel like your sourdough starter is not yet ready, just keep on feeding it for a few more days. It will be ready in a few days.
Once you successfully nurtured your own sourdough starter from scratch, don’t hesitate to experiment with different flours and hydration levels to tailor your starter to your taste preferences.
Remember, sourdough baking is both an art and a science. Each loaf you bake tells a unique story of time, care, and craftsmanship. Embrace the process, savor the aromas, and delight in the simple pleasure of baking bread from scratch.
So gather your flour, pour your water, and let the alchemy begin. Your sourdough adventure awaits, and the possibilities are endless!
How to make Sourdough Starter For Beginners
Equipment
- 1 Straight sided glass container
- Spatula
Ingredients
- 250 g Bread flour
- 50 g Whole wheat flour we can use whole grain flours like rye or spelt
Instructions
- What is a sourdough starterA sourdough starter is just a mix of fermented flour and water that can be used to make healthy and delicious sourdough bread.
- Day 1: Mixing Flour and WaterBegin by mixing equal parts flour and water in a small bowl.Stir until well combined, keep it in a glass container, cover loosely with a lid or can use a cling film. I pricked the cling film with a tooth pick so that air can pass through it.Let it rest at room temperature (ideally around 70 F) for 24 hours. This initial mixture sets the stage for the fermentation process to begin.
- Day 2: Stir and TransferOn the second day, You will see some small air bubbles here and there.On Day 2, we don’t need to do much.Just give your mixture a gentle stir.Transfer it to a clean jar or container.Cover and let it rest at room temperature (ideally around 70 F) for 24 hours.
- Days 3-7: Daily FeedingsFor the next five days, start feeding your sourdough starter, every 24 hours in the ratio 1:1:1. Take some starter, mix it with equal parts of flour and water. So take 30 g starter, mix it with 30 ml water and 30 g flour.Cover the jar and let it rest at room temperature (ideally around 70 F) for 24 hours.
- On Day 3, you will see some large air bubbles on top which indicates, some active fermentation happening behind.
- On Day 4, you may not see much activity; which is normal.Please don’t discard it. Just keep on feeding the starter.
- From Day 5, you will see good fermentation activity going on and you will also notice that our starter will rise and fall during this 24 hour duration.
- By the end of seventh day , you will get a weak starter. To make it strong, from Day 8 onwards, we need to start feeding it every time when it reach its peak.
- Once you reach day 8, your sourdough starter should begin to show good signs of activity. Keep a close eye on it and feed it every time it reaches its peak. This frequent feeding helps maintain the vigor of your starter.
- By day 10, your sourdough starter should be vibrant, lively, and ready to work its magic in your bread dough.
- It should possess a pleasant yeast aroma, a hint of sourness, and be filled with airy bubbles.To test its readiness, drop a spoonful of starter into a bowl of water. It should float.
- If you feel like your sourdough starter is not yet ready, just keep on feeding it for a few more days. It will be ready in another few days.

Annette
Wednesday 13th of March 2024
I love your recipes, they all work and I can use again and again. Thank you