Traditional Irish Soda Bread is one of the simplest and most comforting breads you can bake at home. It’s rustic, hearty, and full of character, with a golden crust and a soft interior that tastes wonderful with butter, jam, or honey.
What makes this bread truly special is how easy it is to make. Unlike most breads, there is no yeast involved and no long rising time. With just five simple ingredients and about an hour, you can enjoy a warm loaf of homemade bread straight from your oven.
This recipe follows the classic method that has been used in Irish kitchens for generations. It relies on baking soda and slightly sour buttermilk to create a beautifully textured loaf with a distinctive flavor and aroma.

Why You Will Love This Traditional Irish Soda Bread Recipe
There are many reasons why this classic soda bread recipe is loved by so many home bakers.
1. Only Five Simple Ingredients
This recipe uses just five basic ingredients that you may already have in your kitchen: flour, salt, baking soda, buttermilk, and honey. No complicated steps and no special equipment are required.
2. Ready in About One Hour
Unlike yeast breads that take hours to rise, Irish soda bread is quick to prepare. From mixing the dough to pulling a golden loaf from the oven, the whole process takes about one hour.
3. Beginner Friendly
Even if you have never baked bread before, you can successfully make this recipe. The dough does not require kneading or proofing, which makes it very easy to handle.
4. Unique Flavor and Aroma
Irish soda bread has a slightly tangy flavor from the buttermilk and a rustic texture that makes it very different from regular yeast bread. The smell of this bread baking in the oven is simply amazing.
Ingredients for Traditional Irish Soda Bread
Here are the ingredients you will need to make this simple bread.
Flour: 450 g or 3.5 cups
Salt: 5 g or 1 teaspoon
Baking soda: 6 g or 1 teaspoon
Buttermilk: 360 ml or 1.5 cups
Honey: 20 g or 1 tablespoon
These ingredients combine to create a dough that bakes into a dense yet airy loaf with a beautifully rustic crust.
It’s better to use plain flour for making soda bread than bread flour which is ideal for making yeast breads. We can also use whole meal or whole wheat flour as some part of the flour, as we don’t need the gluten to build structure in this Irish soda bread recipe.
Why Buttermilk Is Important
Buttermilk plays a key role in traditional Irish soda bread. Its slight acidity reacts with the baking soda to help the bread rise and develop its texture.
Make sure the buttermilk is slightly sour. If it is not sour enough, you can simply add ½ tablespoon of lemon juice to the buttermilk and let it sit for a few minutes. This will create the perfect acidity needed for the recipe.
How to Make Traditional Irish Soda Bread
Step 1: Preheat the Oven
Preheat your oven to 390°F (200°C).
Preparing the oven first ensures that it is fully heated when the dough is ready to bake.
Step 2: Mix the Dry Ingredients
Take a large mixing bowl and sift together:
- Flour
- Salt
- Baking soda
Sifting helps remove lumps and aerate the flour.

Using a whisk, mix it to make sure all ingredients are evenly distributed.
Step 3: Add the Liquid Ingredients
Add the liquid ingredients into the bowl:
- Buttermilk
- Honey
Using the rear end of a wooden spoon, gently stir the mixture.
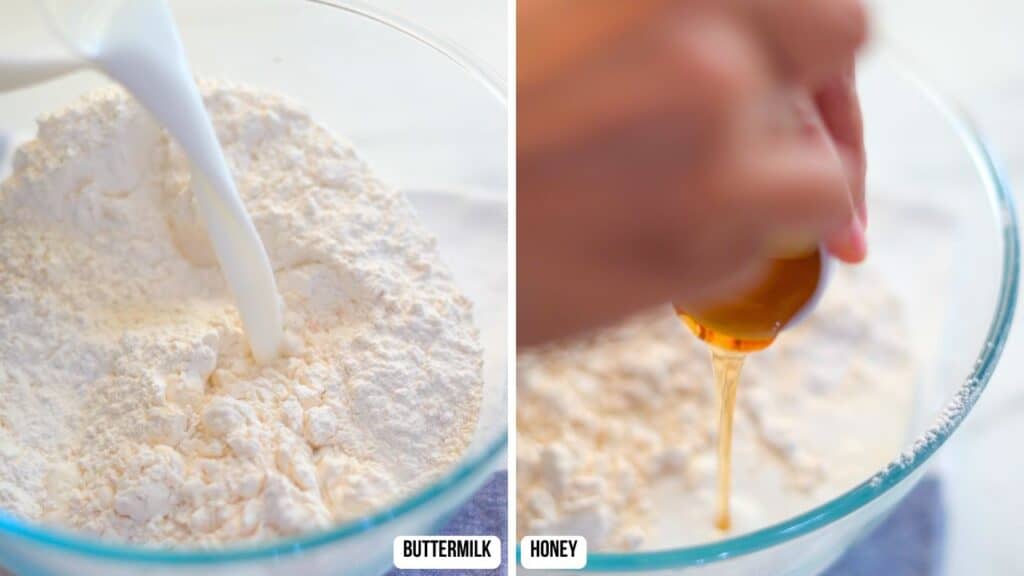
The dough should look rough and rustic. This is exactly how it should be.
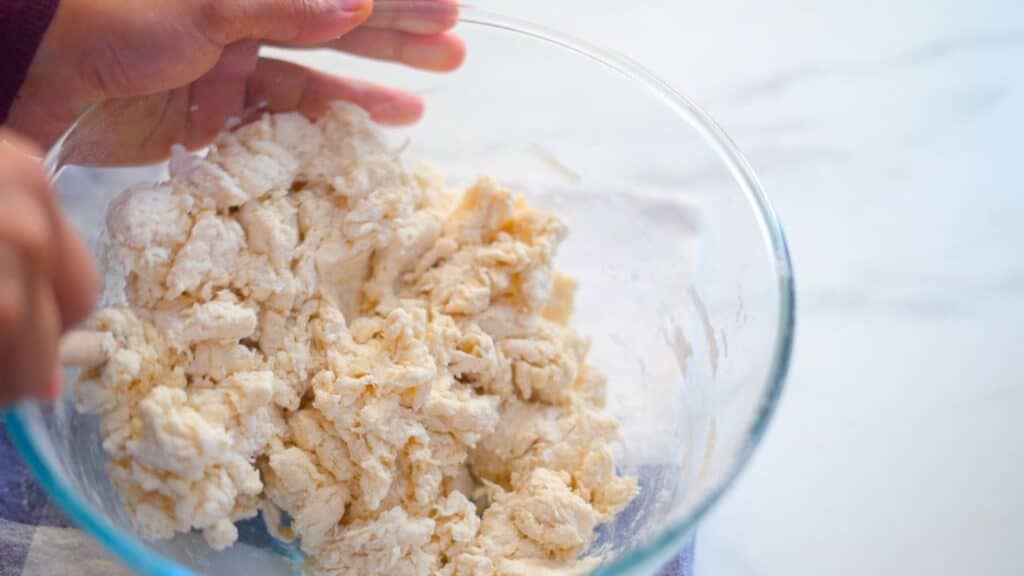
Step 4: Bring the Dough Together
Transfer the dough onto a clean work surface.
Instead of kneading like traditional bread, gently squish and press the dough together until it forms a single mass.
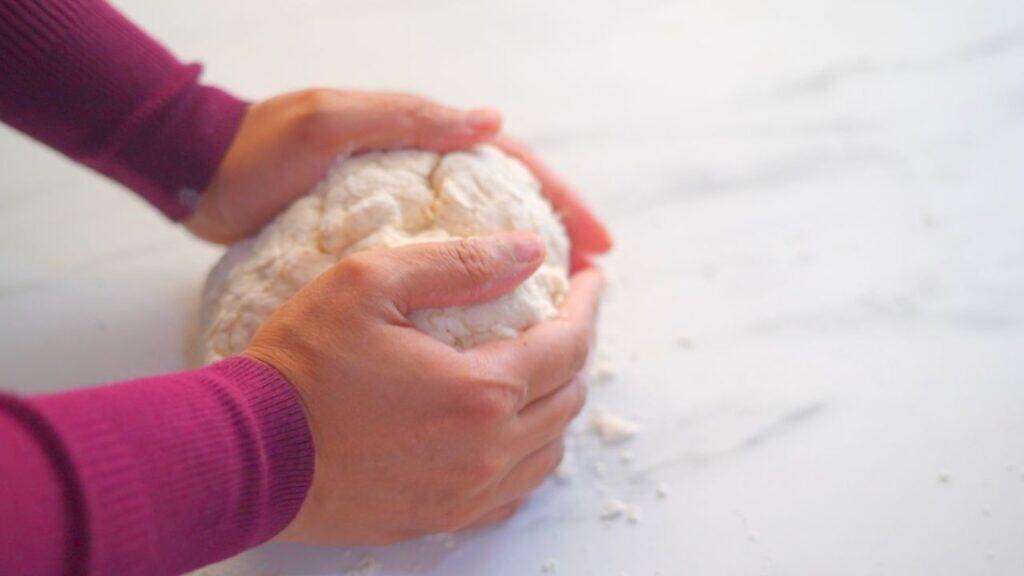
The goal is simply to bring the dough together, not to develop gluten like in yeast breads.
Overworking the dough can make the bread tough, so handle it gently.
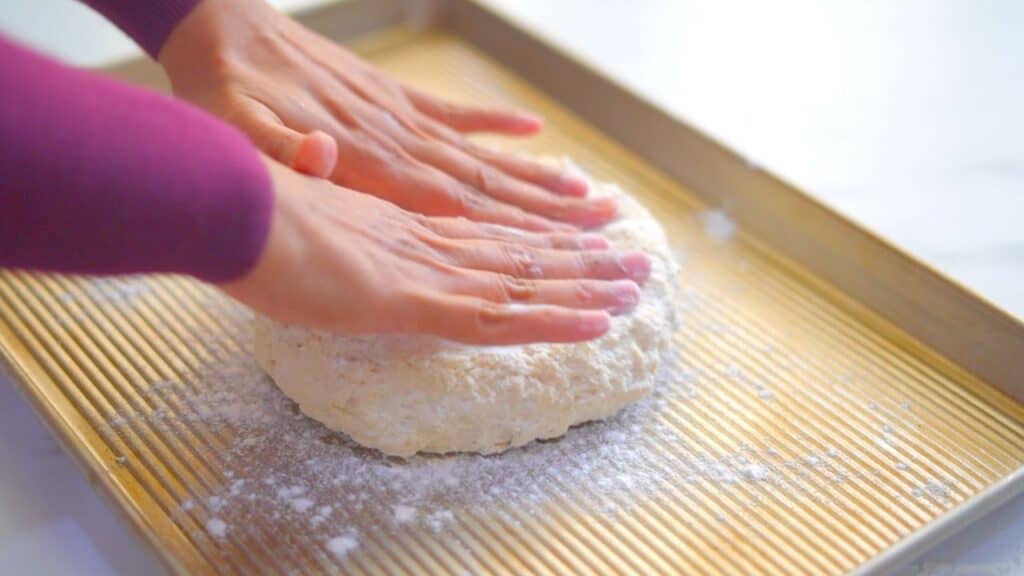
Step 5: Shape the Dough
Place the shaped dough onto a baking tray. Dust the surface of dough with some more flour.
Pat the dough gently to form a round loaf.
Flatten the dough more than you normally would for yeast breads, since soda bread does not rise the same way. The height of the dough should be about 1½ inches thick.
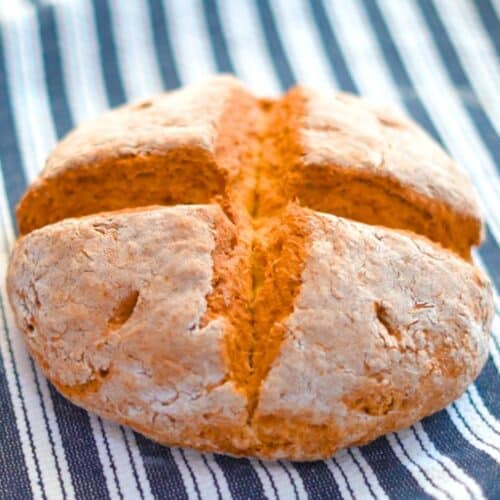
Irish soda bread is traditionally shaped into a round loaf that bakes evenly in the oven.
Step 6: Score the Dough
Using a sharp knife, make a cross (1/4 inch deep) over the top of the dough.
This step is very important.
The cross allows air and heat to circulate through the bread while baking, helping it cook evenly and develop its classic look.
Next, using knife , make deep pricks on each four quarters of the dough.
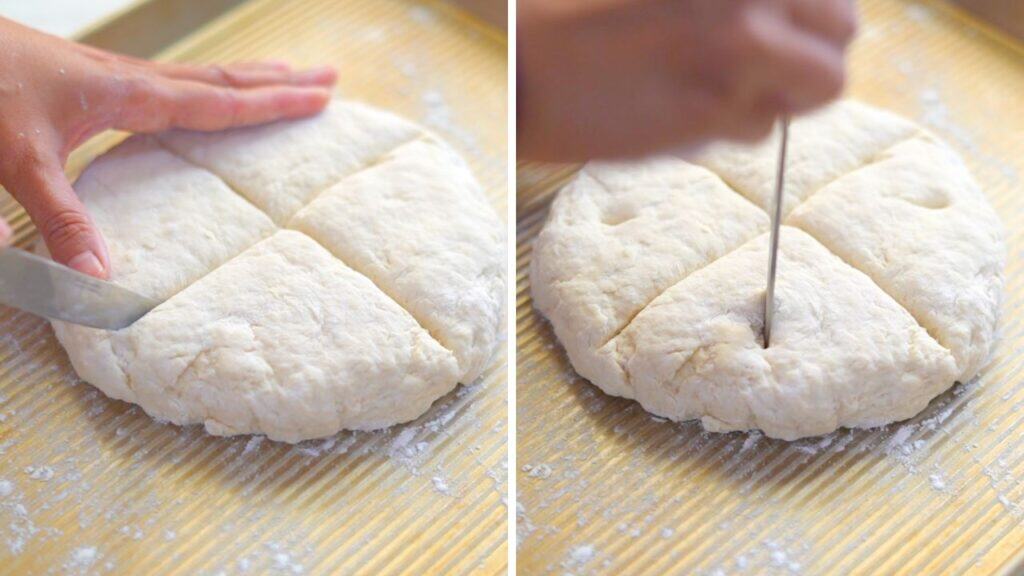
These small holes help release steam and improve the texture of the bread.
Step 7: Bake the Bread
Take the baking tray with shaped bread dough, to the preheated oven.
Bake at 390°F (200°C) for about 50 minutes.
During baking, the loaf will develop a deep golden crust while the inside becomes airy and soft.
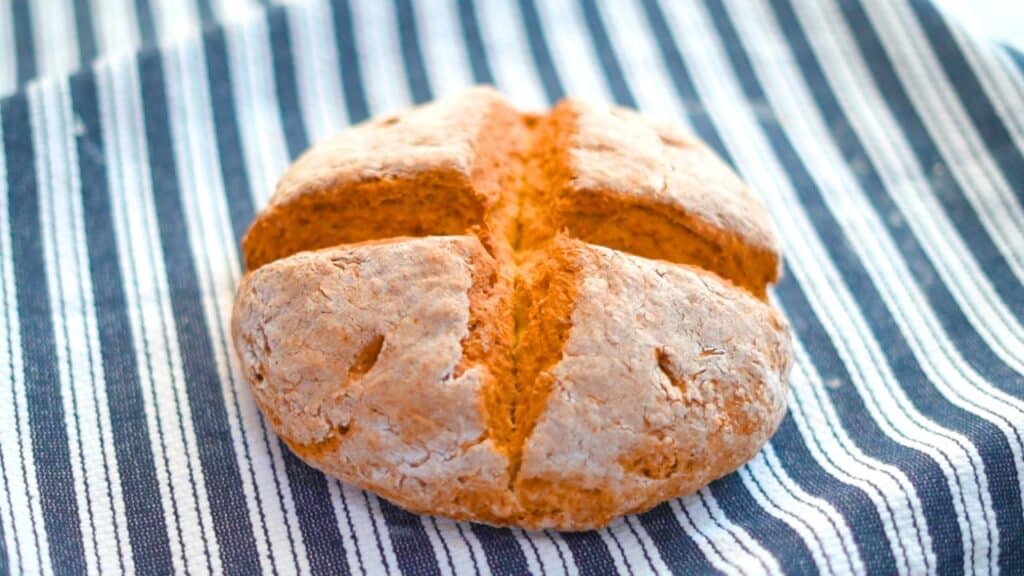
How to Tell When the Irish Soda Bread Is Done
After baking, remove the bread from the oven.
The loaf will feel hard and dense on the outside, which is completely normal.
Turn the bread over and tap the bottom.
If you hear a hollow sound, the bread is fully baked and ready.
This is the classic method bakers use to check whether bread is done.
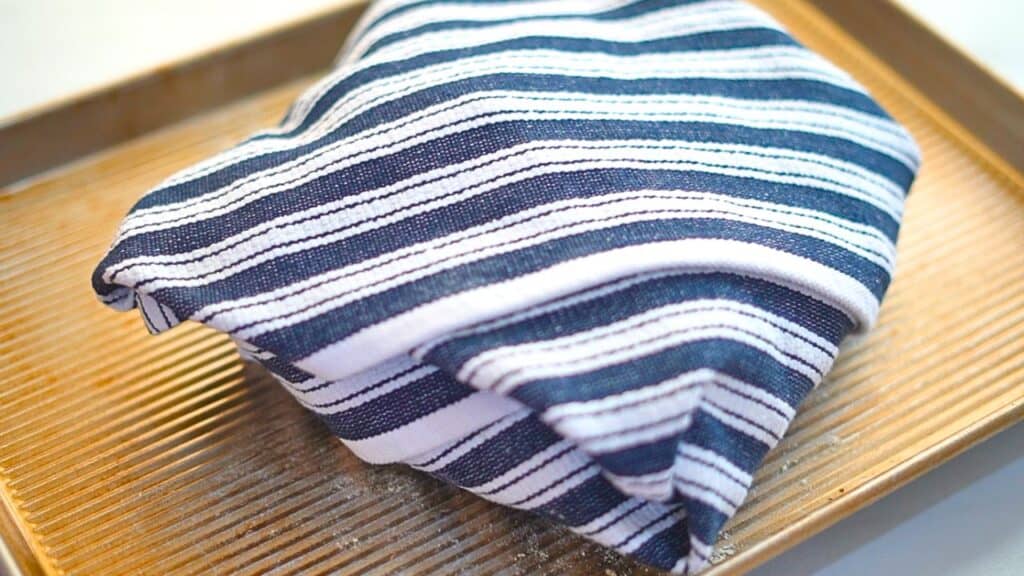
The Secret Trick to Softer Soda Bread
There is a simple trick to make the bread softer after baking.
Once the bread comes out of the oven:
- Wrap it in a thick kitchen towel.
- Let it sit covered for 2 to 3 hours.
The trapped steam inside the towel gently softens the crust and interior of the bread.
After resting, the bread will be noticeably softer and easier to slice.
Cutting and Serving the Bread
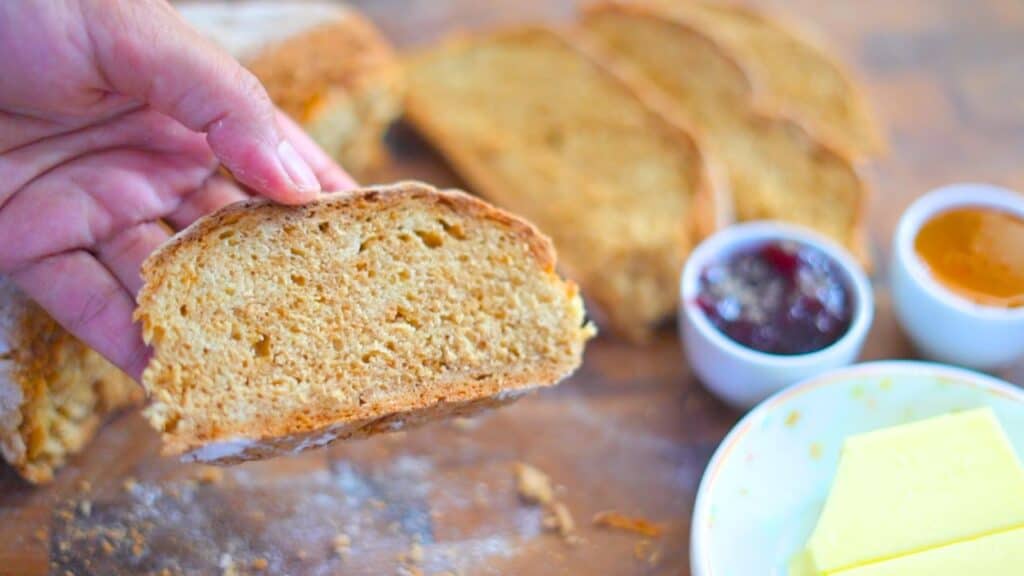
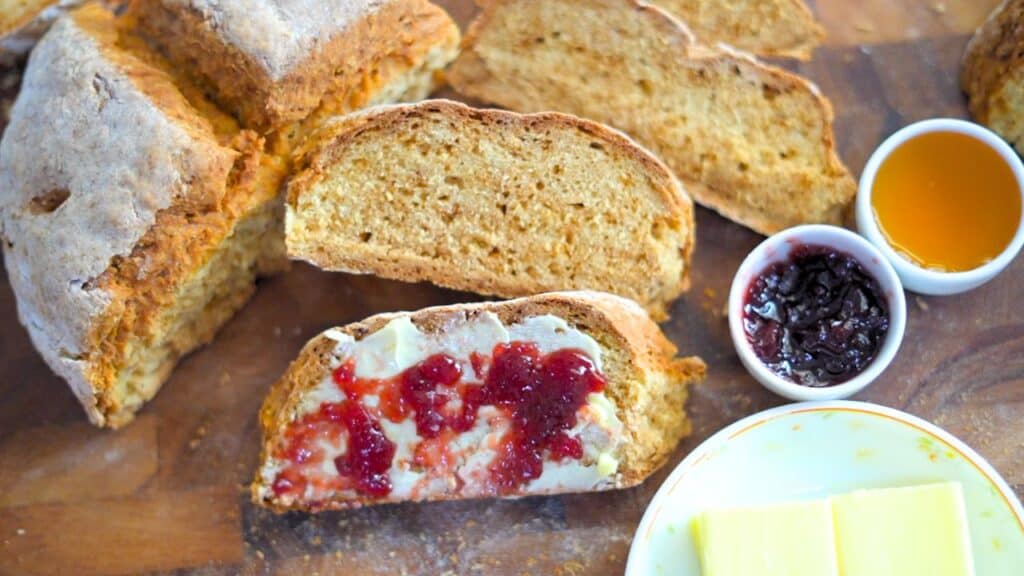
After resting for a few hours, slice the bread into wedges or thick slices.
The inside will be soft with a tender crumb and a rustic texture.
The smell is warm, comforting, and slightly tangy.
Step By Step Video:How to make Authentic Irish Soda Bread
How Traditional Irish Soda Bread Tastes
Irish soda bread tastes very different from regular yeast bread.
It has:
- A slightly tangy flavor from the buttermilk
- A dense yet airy texture
- A hearty rustic crumb
- A golden, crisp crust
The flavor is unique and incredibly satisfying.
Delicious Ways to Enjoy Irish Soda Bread
This bread pairs beautifully with many toppings and meals.
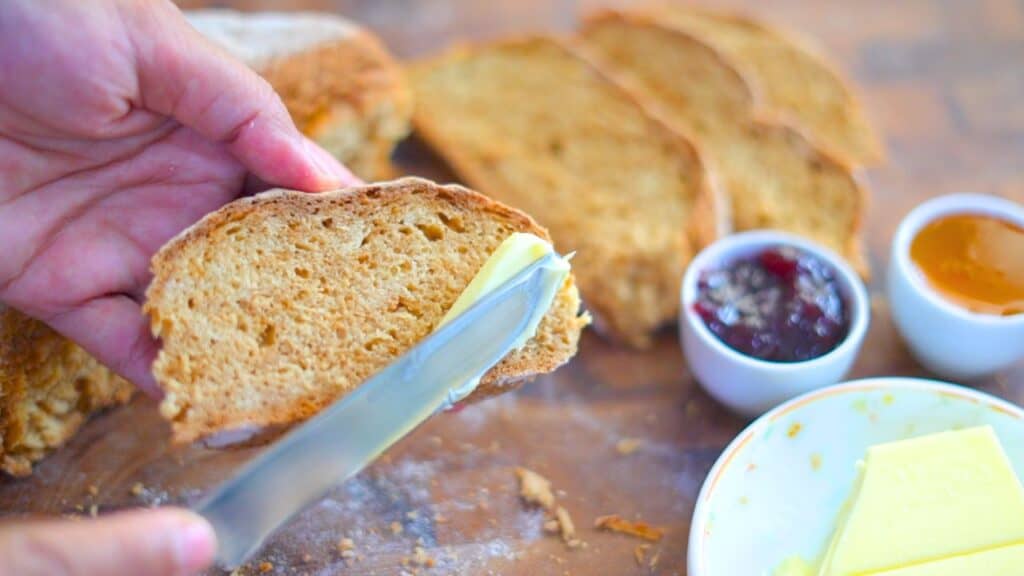
With Butter and Jam
Spread a warm slice with butter and your favorite jam for a simple breakfast.
With Butter and Honey
The natural sweetness of honey pairs wonderfully with the bread’s slightly tangy flavor.
With Soups and Stews
Irish soda bread is excellent dipped into hearty soups or stews.
With Cheese
Serve slices with cheese for a simple snack or appetizer.
Tips for Perfect Irish Soda Bread
1. Do Not Overmix the Dough
Mix just until the ingredients come together. Overmixing can make the bread dense.
2. Keep the Dough Rustic
This bread is meant to look rustic. Don’t worry if the dough looks rough.
3. Use Fresh Baking Soda
Baking soda helps the bread rise, so make sure it is fresh.
4. Handle the Dough Gently
Press and shape the dough lightly rather than kneading it.
Why This Bread Has Been Loved for Generations
Irish soda bread became popular because it was simple and affordable to make. Families could bake fresh bread quickly using ingredients they already had at home.
Even today, it remains a beloved traditional recipe because of its simplicity and comforting flavor.
Final Thoughts
Traditional Irish Soda Bread is a wonderful recipe that proves bread baking doesn’t have to be complicated. With just five simple ingredients and about one hour, you can create a beautiful homemade loaf that tastes amazing.
Its rustic appearance, unique flavor, and incredible aroma make it a joy to bake and share. Whether you enjoy it with butter, honey, jam, or alongside a warm bowl of soup, this bread is sure to become a favorite in your kitchen.
Once you try this traditional recipe, you will see why Irish soda bread has been loved for generations. Simple, hearty, and delicious, it’s a timeless bread that anyone can make at home.
Traditional Irish Soda Bread Recipe
Equipment
- Baking Tray https://amzn.to/3apVsAX
Ingredients
- 450 g Flour 3.5 cups (loosely packed)
- 5 g Salt 1 tsp
- 6 g Baking soda 1 tsp
- 360 ml Buttermilk 1.5 cups
- 20 g Honey 1 tbsp
Instructions
Preheat the Oven
- Preheat your oven to 390°F (200°C).
Mix the Dry Ingredients
- Take a large mixing bowl and sift together: Flour,Salt,Baking soda.Sifting helps remove lumps and aerate the flour.Using a whisk, mix it to make sure all ingredients are evenly distributed.
Add the Liquid Ingredients
- Add the liquid ingredients into the bowl: Buttermilk and Honey.Using the rear end of a wooden spoon, gently stir the mixture.
Bring the Dough Together
- Transfer the dough onto a clean work surface.Instead of kneading like traditional bread, gently squish and press the dough together until it forms a single mass.The goal is simply to bring the dough together, not to develop gluten like in yeast breads.Overworking the dough can make the bread tough, so handle it gently.
Shape the Dough
- Place the shaped dough onto a baking tray. Dust the surface of dough with some more flour.Pat the dough gently to form a round loaf.Flatten the dough more than you normally would for yeast breads, since soda bread does not rise the same way.The height of the dough should be about 1½ inches thick.
Score the Dough
- Using a sharp knife, make a cross (1/4 inch deep) over the top of the dough.This step is very important.The cross allows air and heat to circulate through the bread while baking, helping it cook evenly and develop its classic look.Next, using knife , make deep pricks on each four quarters of the dough.These small holes help release steam and improve the texture of the bread.
Bake the Bread
- Take the baking tray with shaped bread dough, to the preheated oven.Bake at 390°F (200°C) for about 50 minutes.During baking, the loaf will develop a deep golden crust while the inside becomes airy and soft.
- After baking, remove the bread from the oven.The loaf will feel hard and dense on the outside, which is completely normal.Turn the bread over and tap the bottom.If you hear a hollow sound, the bread is fully baked and ready.
- Once the bread comes out of the oven:The trapped steam inside the towel gently softens the crust and interior of the bread.After resting, the bread will be noticeably softer and easier to slice.Wrap it in a thick kitchen towel.Let it sit covered for 2 to 3 hours.
- After resting for a few hours, slice the bread into wedges or thick slices.The inside will be soft with a tender crumb and a rustic texture.The smell is warm, comforting, and slightly tangy.This bread pairs beautifully with many toppings and meals.Spread a warm slice with butter and your favorite jam for a simple breakfast and enjoy!