“Dough not rising” is one of the most common problems while making a bread.
If your yeast bread dough is not rising, the most probable reason behind it is related to yeast.Because yeast is the leavening agent that we use while making bread.
Baking bread is a timeless art, a labor of love that spans generations and cultures. There’s an indescribable satisfaction in producing a homemade loaf with a beautifully risen, golden-brown crust, and a soft, airy crumb.
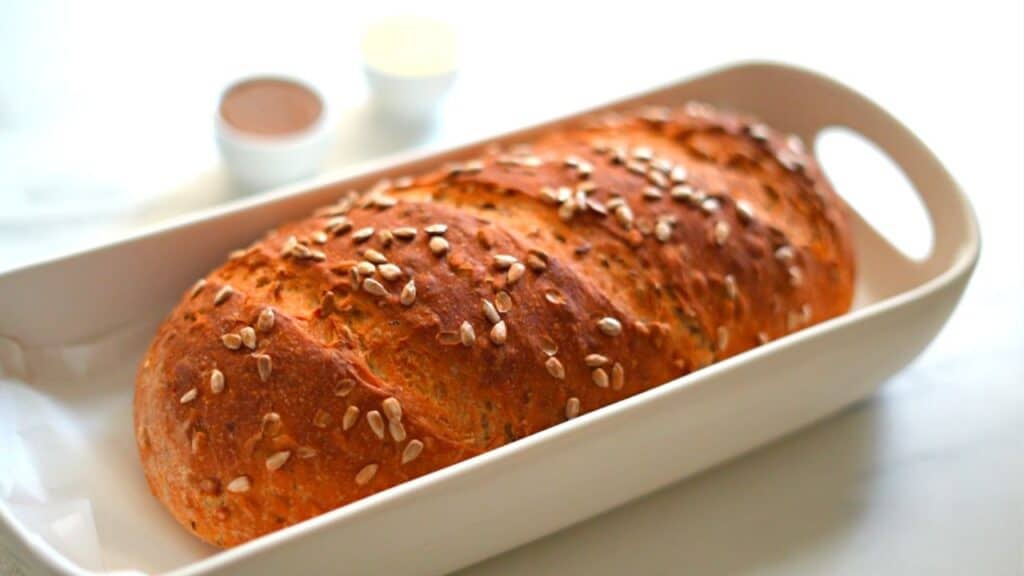
Yet, as any passionate bread maker will tell you, sometimes things don’t go as planned. Your bread dough might refuse to rise, leaving you with a dense, disappointing result.
As someone who’s been passionate about bread making for years, I’ve encountered my fair share of dough dilemmas.
In this article, I’ll not only share the seven common reasons why your bread dough is not rising or might be falling flat but also offer practical, tried-and-true solutions to rekindle your bread-making success.
1.The main cause for the bread dough to not rise is Inactive or Expired Yeast
Yeast is the magic ingredient responsible for the rise in your bread. It’s the living organism responsible for that delightful rise in your dough.

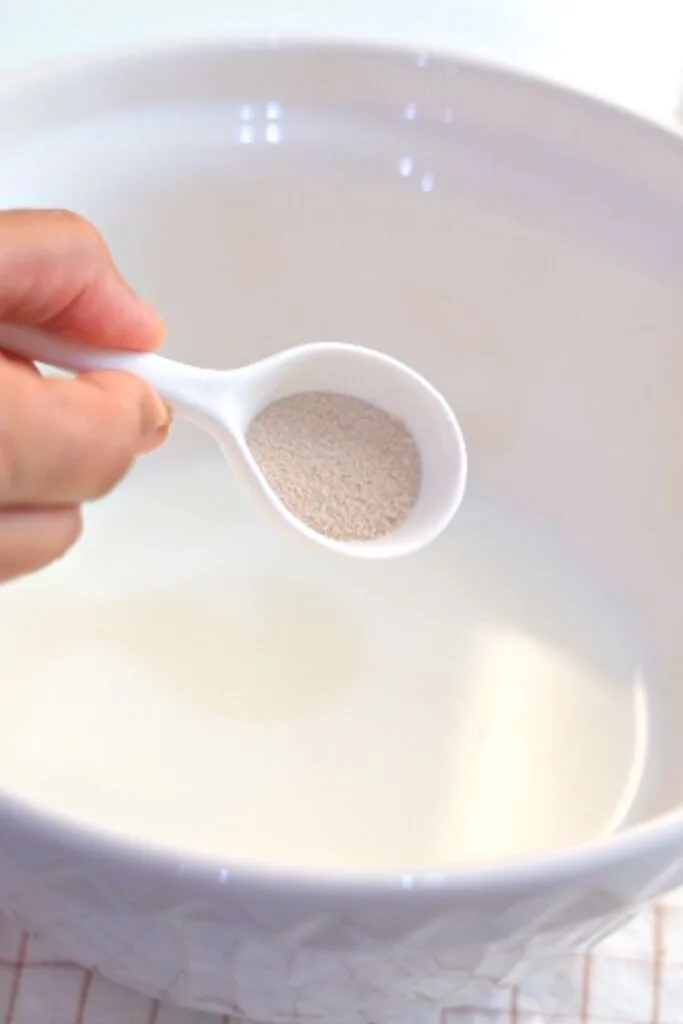
If your yeast is old, expired, or has been stored improperly, it may no longer be active, and your dough won’t rise as expected.
Solution:
Check Expiration Date :First, let’s check the yeast’s vitality. Inspect the expiration date on your yeast package—if it’s past its prime, toss it and get yourself a fresh batch.
Proof the Yeast :Now, to be absolutely certain your yeast is alive and kicking, proof it. Mix it with lukewarm water (around 100°F or 38°C) and a pinch of sugar. Within 5-10 minutes, if it’s turned into a frothy, bubbly elixir, you’re good to go.
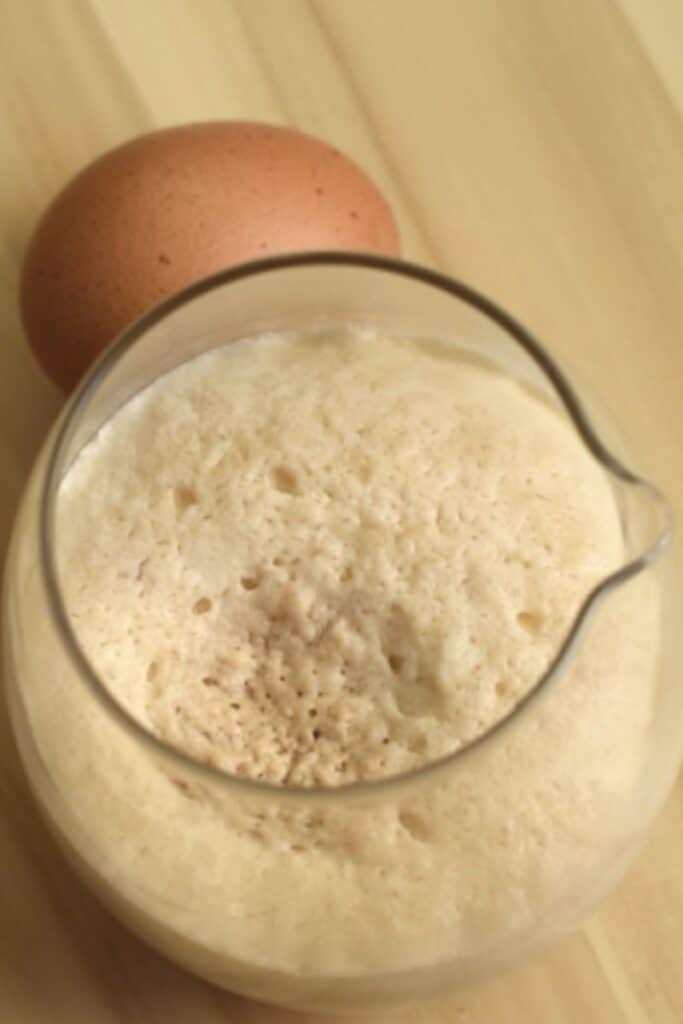

If you are sure about the vitality or freshness of your yeast, ie if your yeast solution is frothy within minutes of activation; then the next most probable reason for the bread dough to not rise is incorrect water/milk temperature that is used to make the bread dough.
2.Incorrect Liquid Temperature can kill yeast and result in flat bread.
Yeast is sensitive to temperature.
Water that is too hot can kill the yeast, while water that is too cold can slow down yeast activity. Getting the water temperature right is crucial for yeast activation.
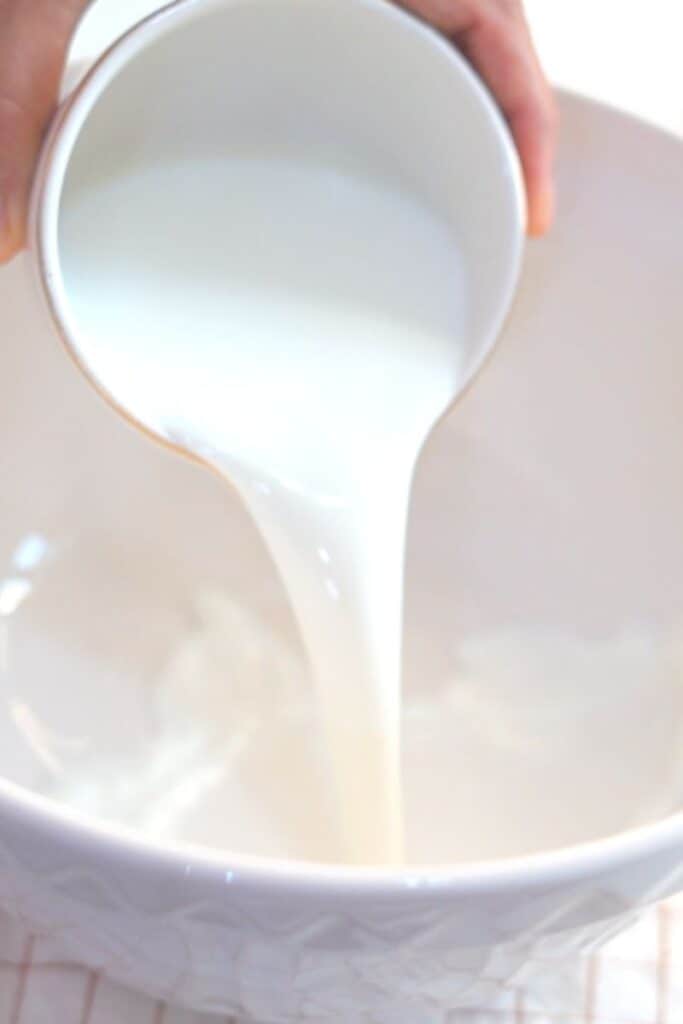
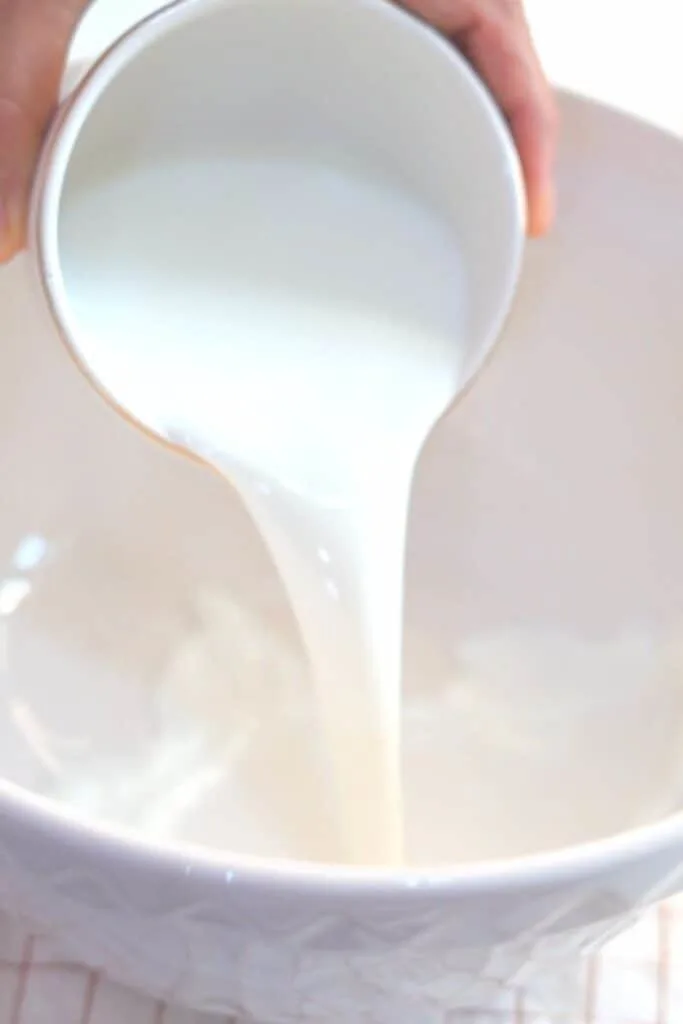
Solution: Use lukewarm water, approximately around 100°F (38°C), to activate the yeast.
To achieve the correct temperature, use a kitchen thermometer. If you don’t have a kitchen thermometer, don’t fret.
Test the water with your finger—it should feel pleasantly warm like the warmth of a baby food. It’s better to err on the side of slightly cooler water/milk than risking overheating.
The above two reasons are the most common reasons why your bread dough is not at all rising or it turn flat.
In the beginning of my baking journey, I used to test yeast for it’s activity before making the dough; but now I skip that step.
I am pretty sure, I will not kill my yeast as I always use water that is lukewarm (should be not hot nor cold but mine is more on cold side than warm). I know if the water is cold it will not kill the yeast but only slow down the process which is not a problem for me.
How to fix the dough that is not rising (if you happened to kill yeast with hot water)
In this case, you can add a little more yeast to the dough and can rejuvenate the dough.
Take a small bowl, add 1/4 cup (60 ml) of lukewarm water(around 100 F or 38 C).
In to this , add a tsp of yeast (3 g) and a small pinch of salt.
Then add 45 g flour and make a dough.
Mix together this new dough with the old one (I consider your dough use 3-3.5 cups of flour and that is why we use 1 tsp yeast; if more flour then adjust the amount of yeast accordingly)so that it will turn into a homogenous dough where the yeast cells are evenly distributed.
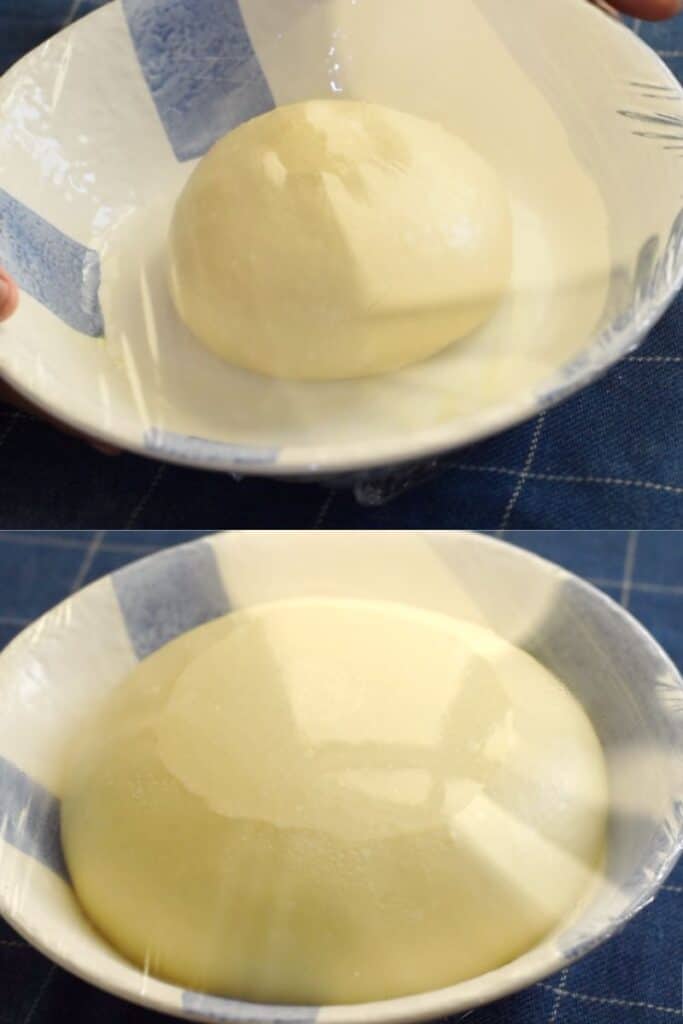
Let the dough sit and rise for 1-2 hours in a warm environment.
You will see the dough get doubled in size in around 1 hour.
Other reasons why the bread dough is not rising to it’s fullest or if it is only partially rising are
3.Dough will not rise properly, if the amount of Yeast added is not sufficient
Indeed, the amount of yeast you add to your bread dough is a critical factor in achieving a proper rise. If you use too little yeast, your dough may struggle to generate enough carbon dioxide gas during fermentation, resulting in insufficient expansion and a dense final product.
I usually use 1 tsp of yeast for around 3 cups of flour in my recipes.But for Hot Cross Buns recipe, I need to use 2 teaspoons of yeast for 2 and half cup flour to get beautiful rise.
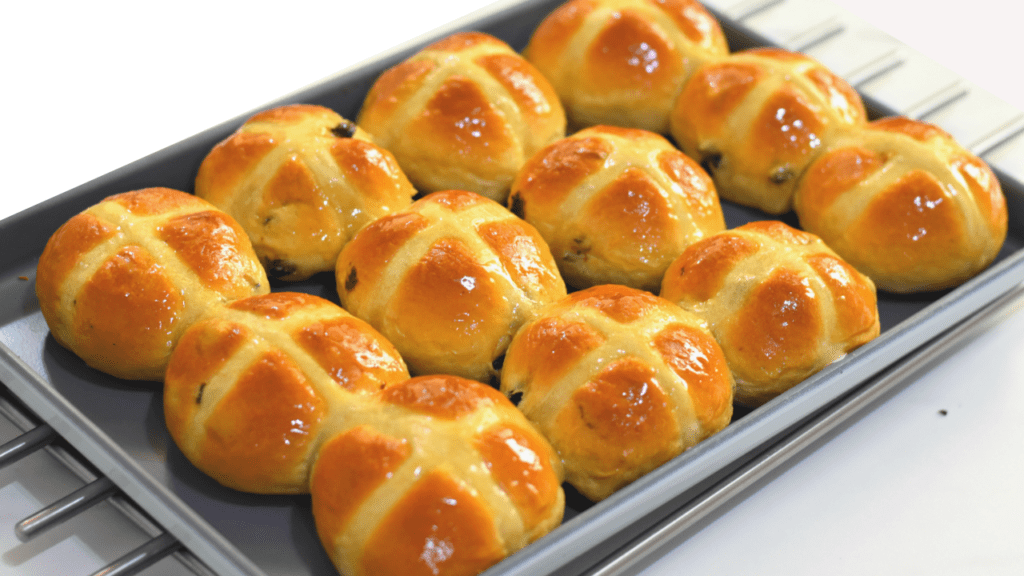

Hot cross buns are super tasty buns that we make especially during the time of Easter that is made with enriched dough.It has butter, sugar, egg and a lot of dry fruits in the dough.It has amazing flavor as it has spices added to the dough.As it is made with enriched dough, it need more yeast in it’s recipe.
Solution: Use the right amount of yeast
- Follow the Recipe: Always start by following the yeast quantity specified in your bread recipe. Recipes are typically developed with specific yeast measurements to ensure a proper rise and consistency in the final product.
- Adjustments: In some cases, you might need to make adjustments based on your preferences or the specific type of bread you’re making. If you prefer a longer fermentation for enhanced flavor, you can reduce the yeast slightly and extend the rising time. However, this requires a deeper understanding of bread-making techniques and may vary from recipe to recipe.
There are also a few other reasons why bread dough is not rising that are not directly related to yeast.
They are
- Insufficiently kneaded dough
- Overly dense dough
- Insufficient proofing time
- According to the type of flour(its gluten content)
4.Bread dough cannot rise completely if the dough is Insufficiently Kneaded
Kneading is a crucial step in bread-making as it helps develop the dough’s gluten structure.
Without proper kneading, your dough may lack the strength to trap the gas produced by yeast, resulting in poor rise.
Solution: This one’s all about time and technique. When kneading by hand, devote a solid 8-10 minutes to it. Your dough should transform from a sticky mess into a smooth, elastic masterpiece. If you’re using a stand mixer, let it run for 4-5 minutes at low speed.
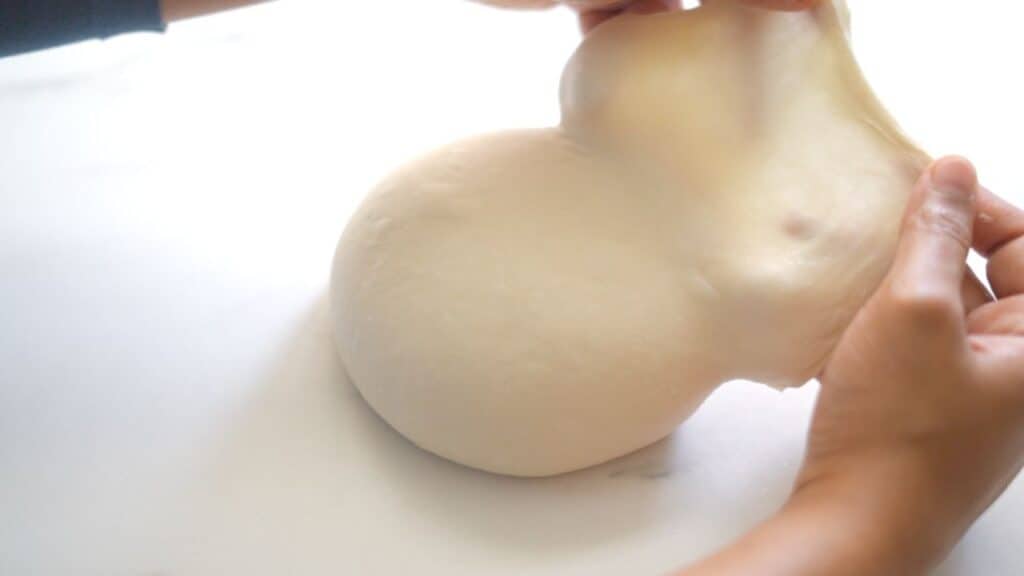
To check if your dough is ready, perform the “windowpane test.” Stretch a small piece of dough between your fingers. If it forms a thin, translucent membrane without tearing, it’s ready.

5.Overly Dense Dough cannot rise properly
Having too much flour in your dough can make it overly dense, making it difficult for gas to expand and causing poor rising.
Solution: Achieving the right dough consistency is key.
Gradually add small amounts of water to the dough while mixing until you reach a slightly sticky but not overly wet texture. It might take a bit of practice, but trust your instincts. The dough should feel pliable, not stiff or dry.

6.Insufficient Proofing Time
During the proofing stage, the dough needs adequate time to rise and double in size. Rushing this step can result in underproofed dough, which won’t have the desired volume and texture.
Proofing time for different bread recipes may vary according to the ambient temperature or according to the ingredients in recipe.
Yeast’s activity will be slow in a colder environment and faster in a warmer environment.
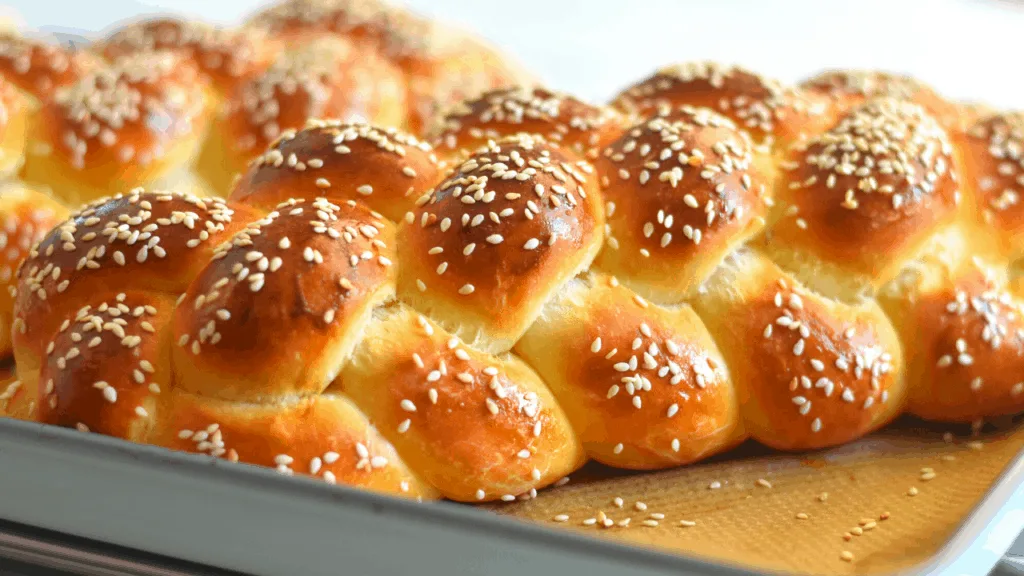
If your recipe uses lot of sugar and butter, like a Brioche dough or like a Challah bread dough; then it will take longer to rise.
Challah bread dough, like a brioche dough use more eggs ,and butter which need more proofing time than regular bread recipes.

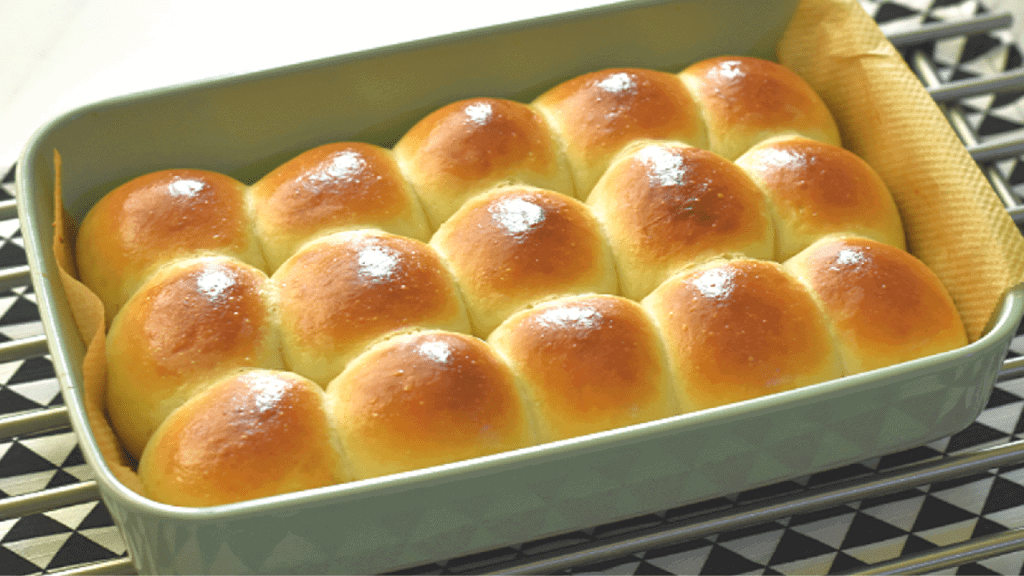
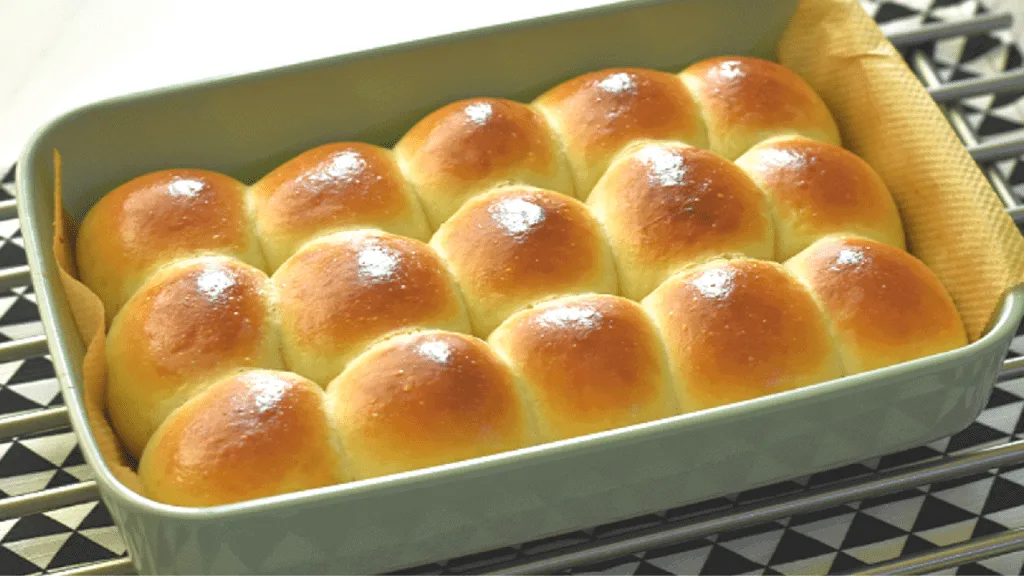
In this Quick and Easy Dinner rolls recipe, we do only single proofing but the dinner rolls turn out well risen.This is because we kneaded the dough really well until the dough passes the window pane test.
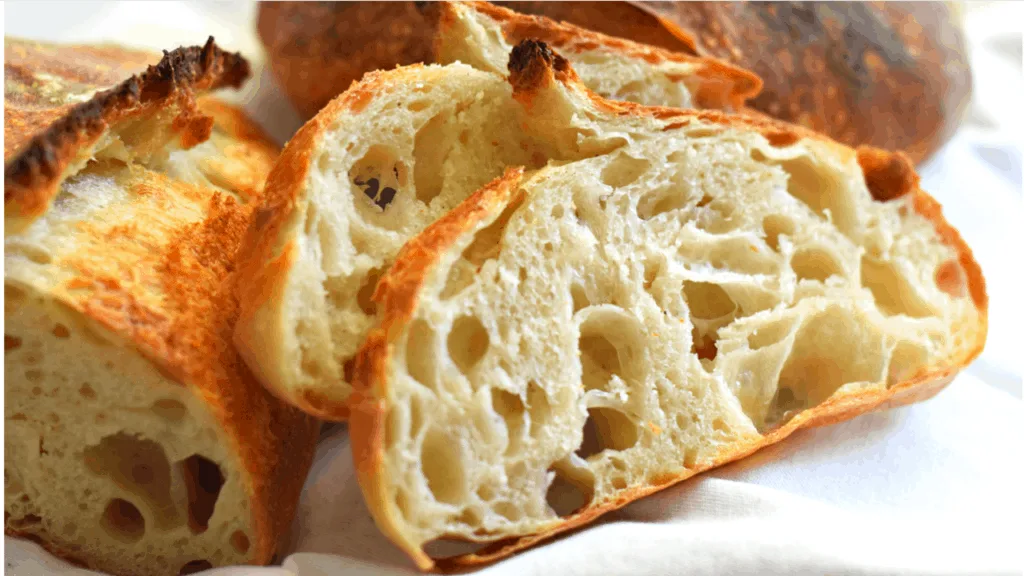
To make Open Crumb Rustic Bread, like a sourdough bread crumb and taste, we have used a different technique.Though this is a “no knead bread recipe”, we used “biga” to prepare the dough and so a long proofing time which resulted in a bread with lot of flavor and open crumb.

Solution: Patience is crucial when it comes to proofing. Let your dough proof in a warm, draft-free environment until it proudly doubles in size. The time can vary depending on the recipe, room temperature, and yeast type, but you’re typically looking at 1-2 hours or more.
Keep an eye on your dough, not the clock. When it’s doubled, it’s ready for the next step.
7.Type of flour can influence the dough rising
The type of flour you use can significantly impact the rising of your dough and the final texture of your bread.
Different types of flour have varying levels of protein content and gluten-forming potential, which can influence how well the dough rises and the overall structure of the bread. Here’s how the choice of flour can affect your dough;
- Protein Content: The protein content in flour, specifically gluten, is a crucial factor in bread-making. High-protein flours, like bread flour or high-gluten flour, contain more gluten-forming proteins. This results in a stronger gluten network, which can trap and hold carbon dioxide produced by yeast, leading to a better rise and a chewier texture. These flours are ideal for making artisan and yeast-based bread, like baguettes or rustic loaves.
- Low-Protein Flours: Flours with lower protein content, such as cake flour or pastry flour, have less gluten-forming potential. While these flours are excellent for delicate pastries and cakes, they are less suitable for bread-making. Dough made with low-protein flours may not rise as well, resulting in a denser and softer texture.
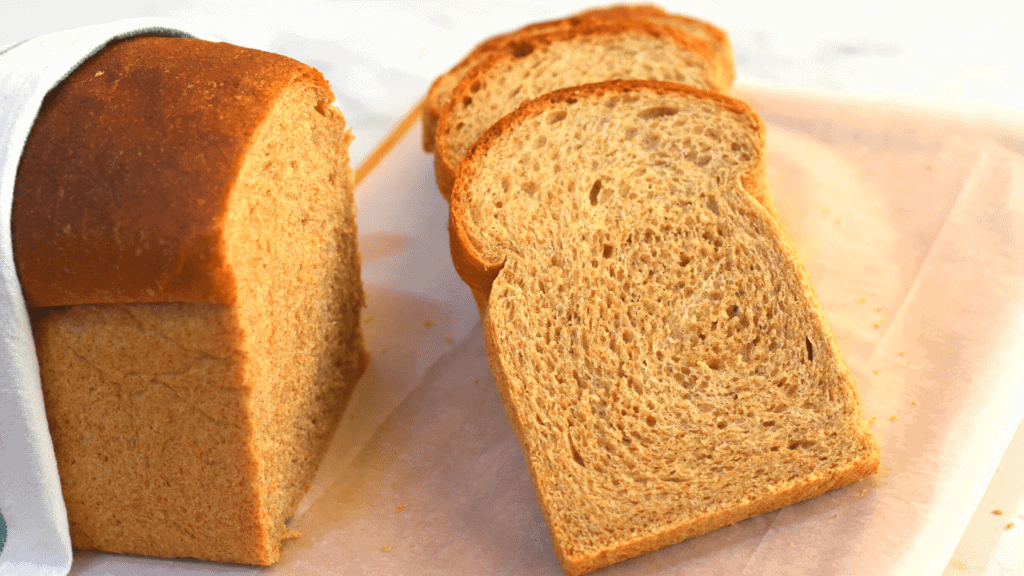
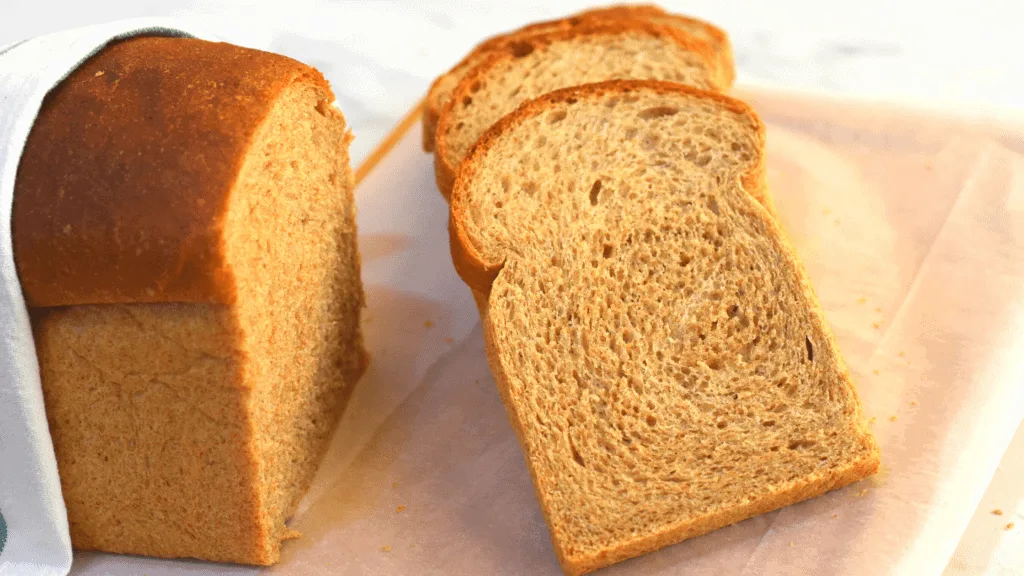
- Whole Wheat Flour: Whole wheat flour, which includes the bran and germ of the wheat kernel, has a higher fiber content and lower gluten-forming potential compared to all-purpose or bread flour. Dough made with whole wheat flour may not rise as much and can result in denser bread. However, it offers a nuttier flavor and added nutrition.
- Solution: When using whole wheat flour, consider mixing it with bread flour or all-purpose flour to improve its rising ability. This blend provides a balance of flavor, nutrition, and dough structure.We have a Brown bread recipe, which has used very small part of flour as “all purpose flour” and the bread has risen beautifully.
- Gluten-Free Flours: Gluten-free flours, such as rice flour, almond flour, or gluten-free baking mixes, lack the gluten proteins necessary for traditional bread rising. Therefore, bread made with these flours typically requires alternative rising agents like xanthan gum or additional techniques to achieve a satisfactory texture.
Additional Tips on: “Bread Dough Not Rising”
Now that we’ve delved into the nitty-gritty of dough rise issues, let’s explore some extra nuggets of wisdom to elevate your bread-making game:
- Create the Right Environment: Your kitchen’s ambiance matters. Ensure it’s warm and free from drafts during the rising process. A neat trick is to use your turned-off oven with a bowl of hot water to create a cozy, humid environment.You can also create a warm environment just perfect for the dough to rise by keeping the dough inside the oven with lights turned on.
- Cover Your Dough: During proofing, keep your dough covered with a damp cloth or plastic wrap. Dry dough won’t rise to its fullest potential.
- Don’t Rush:Avoid rushing the rising process. Sometimes, slower rises can yield better flavor and texture. Be patient and give your dough the time it needs to work its magic.
Bread making is a captivating journey that leads to the ultimate reward—a loaf of freshly baked, fragrant, and flavorful bread. When your dough refuses to rise, it’s not a setback but an opportunity to hone your craft. By addressing common culprits like inactive yeast, incorrect water temperature, insufficient amount of yeast, insufficient kneading, overly dense dough, and impatience during proofing, you’re well on your way to bread-making glory.
Embrace the art of bread making, for it’s a skill that combines science, intuition, and patience. With each batch of dough, you’ll gain confidence and expertise. So, roll up your sleeves, dive into the world of bread making with passion and dedication, and savor the satisfaction of creating your own delectable, freshly baked loaves. After all, there’s nothing quite like breaking bread you’ve baked with your own hands.